Fill in the brief: format, project, target URL and anchor
Step 1 of checkout: for every placement, pick the format and project and tell the writer where the link points and what it says.
Checkout is one page with three numbered sections, and the order summary on the right. This article covers section 1, Placements and brief.
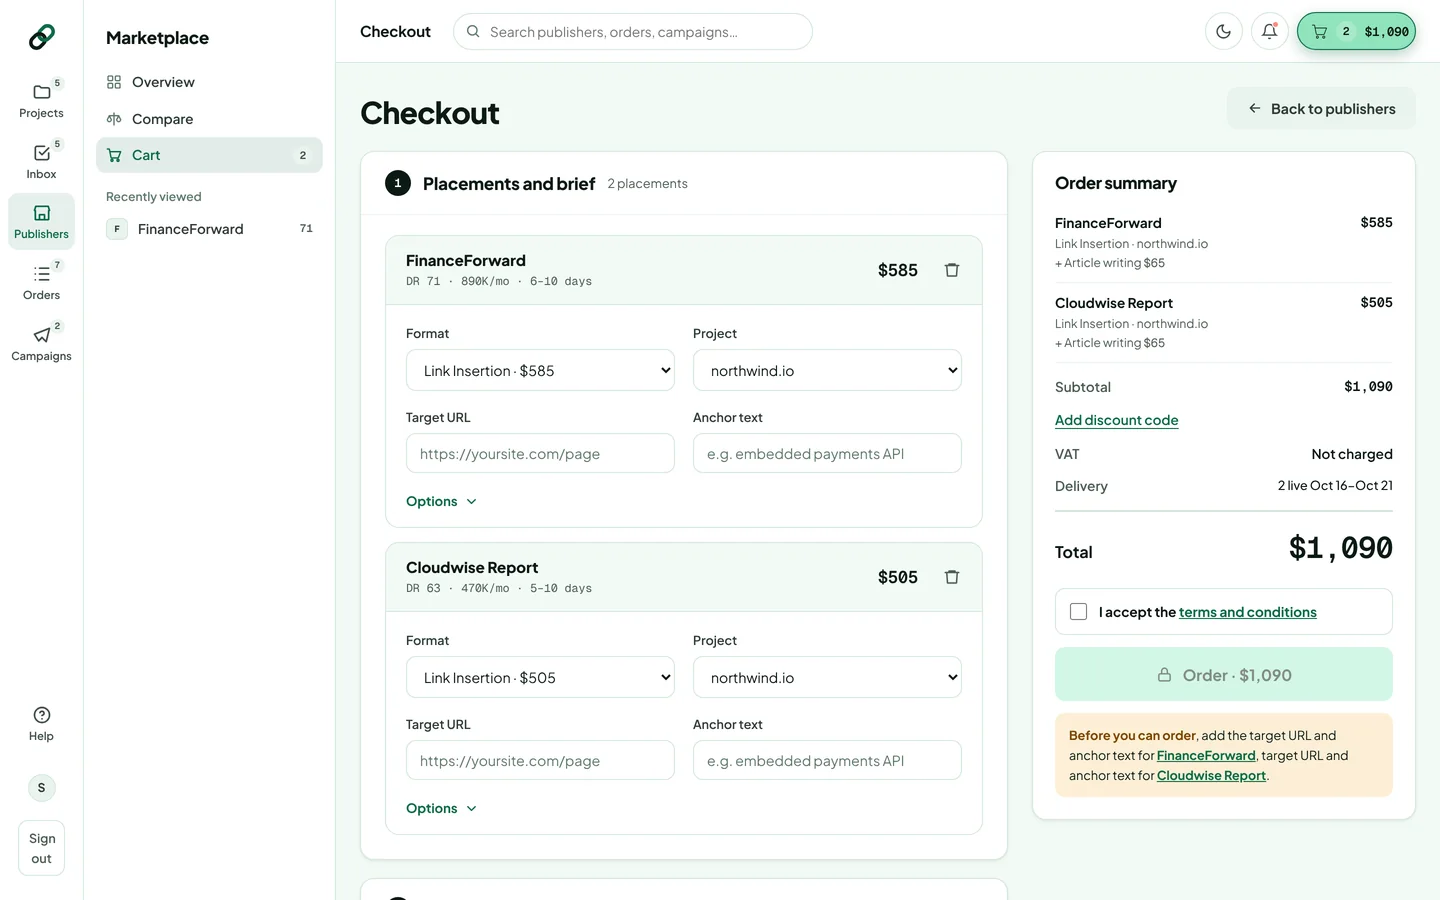
For each placement
| Field | What to enter |
|---|---|
| Format | The type of placement, with its price. Defaults to the publication's main format. See formats. |
| Project | The site this link is for. Each placement can go to a different project. Choose + Create new project… to add one without leaving checkout. |
| Target URL | The full address of the page the link should point to, starting with https://. |
| Anchor text | The words the link sits on, for example embedded payments API. See anchor text. |
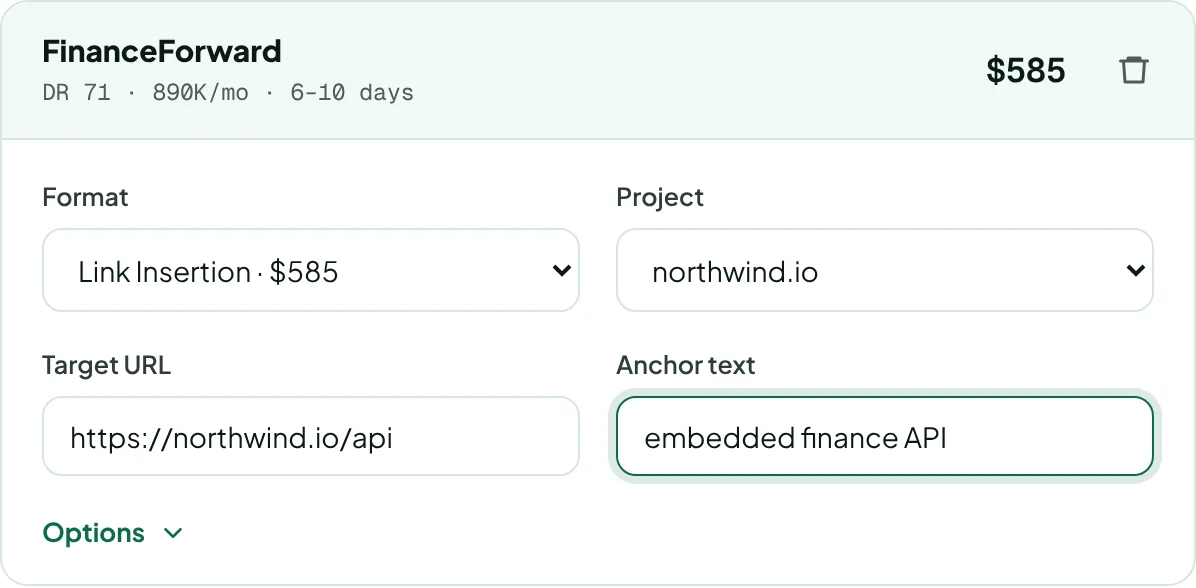
Not sure which page to link to? The Rankings tab lists keywords close to page one and the pages that rank for them. Those pages usually gain most from a new link. Vary your anchors: mostly brand and natural phrases, with only a few exact-match keywords.
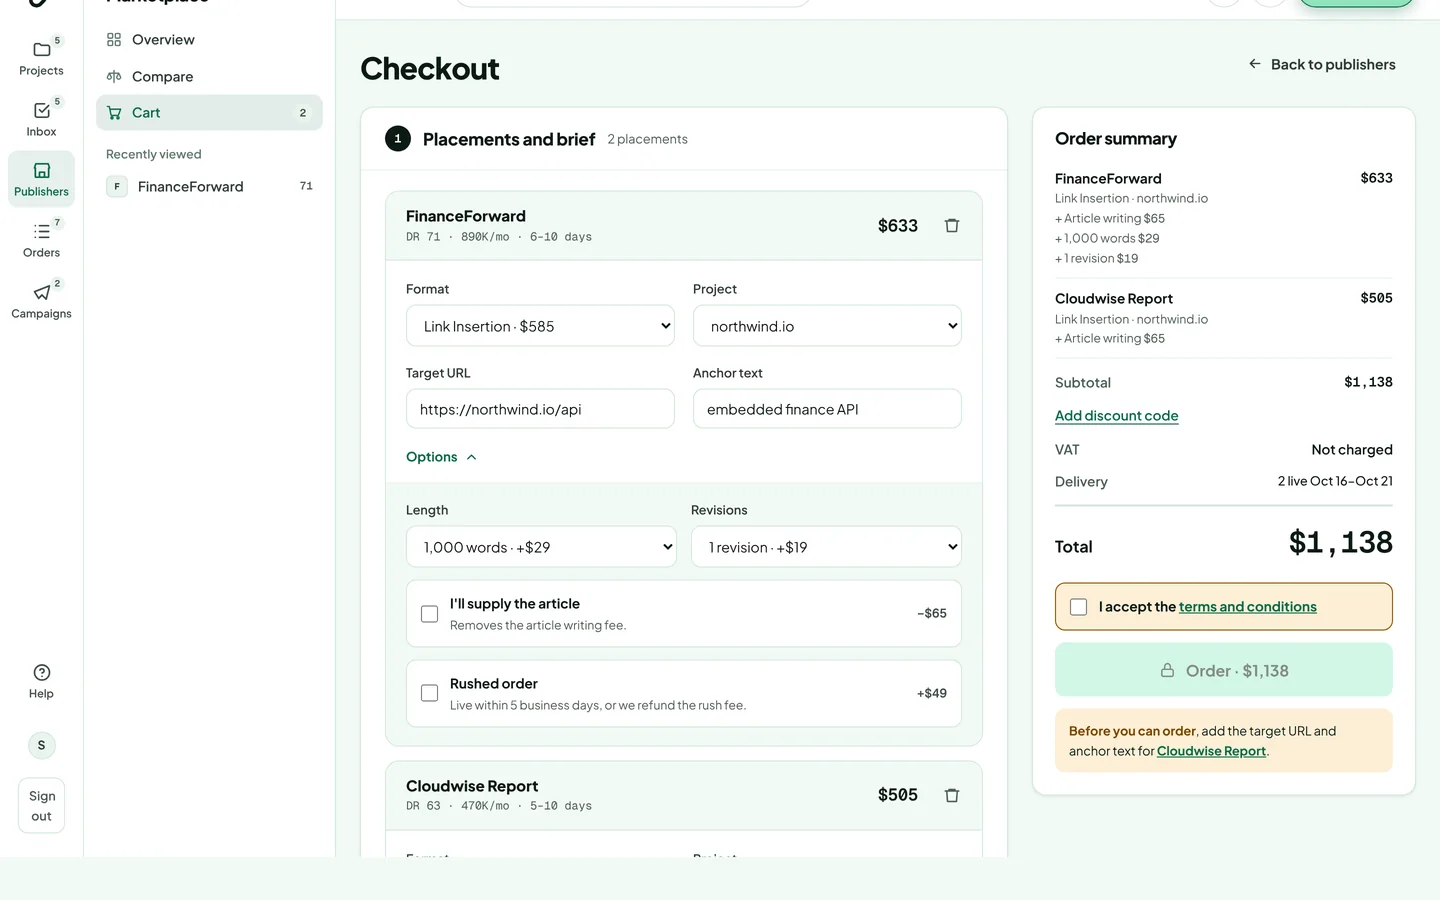
Click Options under a placement to change the article length, add revisions, ask for a rushed order or supply your own article. See Choose length, revisions and rushed delivery.
“Before you can order”
The number 1 next to the section turns into a tick once every placement is complete. Until then, the order summary lists what's missing and for which publication. Click a publication's name there to jump to it. If you press Order with something missing, the field is highlighted with a short explanation:
- Choose the project this link is for.
- Enter the full page address, starting with https://
- Enter the words the link sits on.
- Tell the writer which questions this article should answer. (AI Optimized Articles only, see here)
Next: billing details and payment.
Thanks for letting us know.
Sorry about that. Tell us what was missing at hello@rankticker.com and we'll improve it.